Florian Schroiff has been building for the web for almost 20 years. He has worked on countless accessible websites as a freelancer and for various agencies. As a front-end expert he is always searching for ways to improve accessibility and user experience and to share them with his team — and now with you!
Do you know how to make sure users of assistive technology don’t miss important updates on your website? The best strategy here is to use ARIA alerts – they’re like a gentle tap on the shoulder for users, making sure they receive urgent information at the right time.
ARIA alerts (using role="alert") help you communicate time-sensitive information to people using screen readers and other assistive technologies. When content marked with this role updates, it triggers a notification that screen readers announce straight away.
But getting ARIA alerts right can be tricky. Use them too much, and you might overwhelm your users. Use them incorrectly, and your important messages might not reach everyone. It’s a bit like finding the right volume for an announcement – too quiet and people miss it, too loud and it becomes annoying.
In this guide, we’ll show you exactly how to implement ARIA alerts effectively, along with plenty of practical tips to help you avoid common mistakes.
What are ARIA alerts?
Let’s start with something you might see every day – imagine you’re filling out an online form and accidentally skip a required field. The form lets you know right away that you’ve missed something. For users of screen readers, ARIA alerts make sure this kind of important information gets announced immediately.
ARIA alerts work as assertive live regions on your webpage. In simpler terms, when you mark an element with role="alert", you’re telling assistive technologies: “This is important – please announce this information right away!” It’s equivalent to setting both aria-live="assertive" and aria-atomic="true" on an element.
ARIA alerts are just one of five live region roles you can use. While alerts are for urgent messages, you’ve got other options too:
role="status"for general updates.role="marquee"for moving text (like stock tickers).role="timer"for countdowns.role="log"for adding new information to a list (think chat messages).
There’s also role="alertdialog", which is similar but different. While both roles announce content, alertdialog moves the user’s focus to the alert and expects them to close it – perfect for those “Your session is about to expire” warnings.
Here’s something important to remember: alerts only work when content changes. Simply having role="alert" on a static element won’t do anything – the content inside needs to update dynamically.
Some common and useful ways to use ARIA alerts include:
- Telling users about form errors (“Please enter your email address”).
- Warning about session timeouts (“Your session will expire in 2 minutes”).
- Notifying about connection issues (“Unable to save changes – check your internet connection”).
When implementing alerts, keep these basics in mind:
- Only use them for text content, not for buttons or links.
- Add the alert role to the message container, not to the trigger element.
- Don’t worry about making the alert focusable – screen readers will announce it automatically.
Best practices for implementing ARIA alerts
Let’s talk about how to make your ARIA alerts work brilliantly for everyone. Think of alerts like text messages – you want them to be clear, timely, and not so frequent that people start ignoring them.
First, let’s cover the technical setup:
- Place your
role="alert"on the element that contains your message, not on buttons or other controls that trigger the alert. - Use JavaScript to update the alert content dynamically – this ensures screen readers catch the change.
- Don’t add
aria-live="assertive"when you’re already usingrole="alert"– some screen readers might announce your message twice.
Here’s a basic example of a form with an alert to warn users if they submit an incomplete or incorrect field:
<form id="contactForm">
  <label for="email">Email:</label>
  <input type="email" id="email" name="email">
  <button type="submit" onclick="submitForm(event)">Submit</button>
</form>

<!-- Alert message after form submission -->
<div role="alert">
  <span id="error-message" style="display:none;color:red;">Please provide a valid email address.</span>
</div>
Code breakdown:
- The
<div role="alert"element is the container for the error message. - The alert container needs to be empty initially. You can either inject text with js when the alert is triggered or, like we do here, hide the content with CSS.
- The
role="alert"tells screen readers that this is an important, live region and that the content should be read out loud immediately. - The
<span id="error-message"contains the message text (“Please provide a valid email address.”) that will be read when the alert is triggered. - The
style="display:none"initially hides the content of the error message, so it’s only visible when triggered by the JavaScript function. - The
color: redinline style makes the error message text appear in red, helping it stand out visually.
Then, we’ll need JavaScript for form validation and handling:
function submitForm(event) {
  event.preventDefault();

  const emailField = document.getElementById('email');
  const errorMessage = document.getElementById('error-message');

  if (!emailField.value || !emailField.value.includes('@')) {
    errorMessage.style.display = 'block';
  } else {
    errorMessage.style.display = 'none';
    alert('Form submitted successfully');
  }
}
Code breakdown:
event.preventDefault();prevents the form from submitting in the usual way (i.e., refreshing the page). Instead, the JavaScript function submitForm(event) is executed, allowing us to control what happens after the form submission.const emailField = document.getElementById('email');gets the reference to the email input field in the form.const errorMessage = document.getElementById('error-message');gets the reference to the error message div that will be shown if the user enters an invalid email address.if (!emailField.value || !emailField.value.includes('@')):This checks two things:- If the email field is empty (
!emailField.value). - If the email does not contain the @ symbol, which is a basic check for a valid email format (
!emailField.value.includes('@')).
- If the email field is empty (
Now, let’s talk about when to use different types of alerts. Sometimes role=”alert” isn’t your best option:
- Need user interaction? Use
role="alertdialog"instead (perfect for those “Are you sure you want to delete this?” moments). - Showing progress updates?
role="status"works better (“Uploading: 50% complete”). - Building a chat application?
role="log"is your friend. - Creating a stock ticker? That’s what
role="marquee"is for. - Making a countdown timer? Use
role="timer".
Think about timing, too. Your alerts should stay visible long enough for users to process them. For error messages in forms, keep them visible until the error is fixed. For temporary notifications, ensure they stay around for at least a few seconds.
Common ARIA alert pitfalls and how to avoid them
Let’s look at some common mistakes that can make ARIA alerts less helpful – and how to fix them.
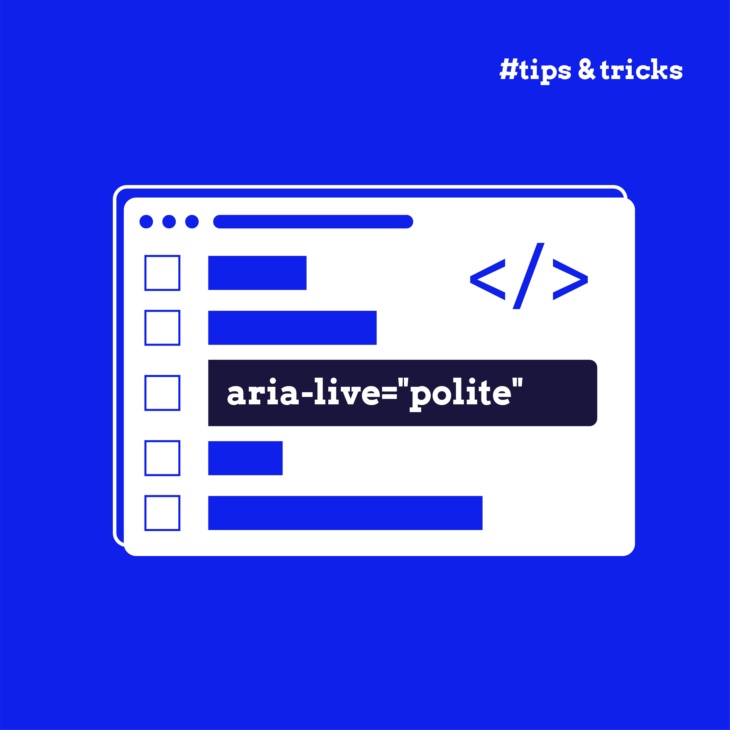
- Using too many alerts is probably the biggest issue. It’s like having a friend who sends you constant message notifications – eventually, you might start ignoring them. Instead, save
role="alert"for truly urgent messages. For regular updates, userole="status"oraria-live="polite". - Watch out for alerts that vanish too quickly. Some users might need extra time to process the information, especially if they’re using screen readers at a slower speed (for more info, check out the WCAG SC 2.2.3 No Timing (AAA)). So, when you have important messages that need action, use
role="alertdialog"instead – this keeps the message present until the user responds. - Here’s a tricky one: the
role="alert"container must be empty when the page loads. Alerts only trigger when content changes dynamically. You can trigger a change by inserting text into the alert container or by revealing text that was previously hidden with CSS. - Finally, avoid doubling up with
aria-live="assertive". This can cause screen readers to announce the same message multiple times, which gets annoying quickly. The alert role already includes this behaviour – no need to add it manually.
Master ARIA implementation with The A11Y Collective
We’ve covered the basics of ARIA alerts – from what they are and when to use them, to common pitfalls you’ll want to avoid. Getting these notifications right makes a huge difference to people using screen readers and other assistive technologies.
Want to take your accessibility skills further? Our “ARIA explained” course dives deeper into all aspects of ARIA implementation, including live regions, roles, and practical exercises. You’ll learn how to create more inclusive web experiences that work brilliantly for everyone.
Join us at The A11Y Collective and become an accessibility champion.
Ready to take the next step?
Level up your ARIA knowledge with our “ARIA explained” course.