Florian Schroiff has been building for the web for almost 20 years. He has worked on countless accessible websites as a freelancer and for various agencies. As a front-end expert he is always searching for ways to improve accessibility and user experience and to share them with his team — and now with you!

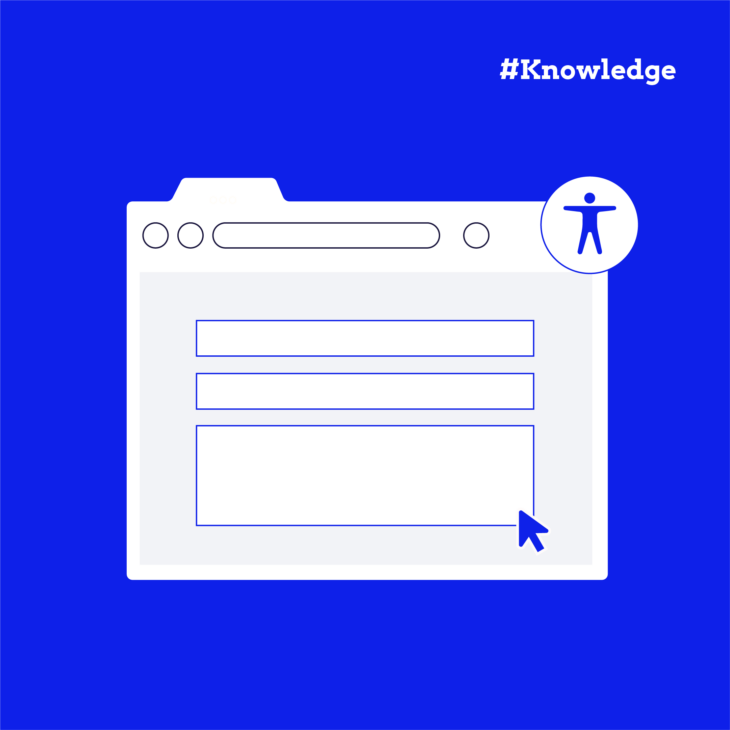
Screen readers are powerful software programs that transform the text and HTML elements on our computer screens into speech. These tools are indispensable for individuals with visual impairments or cognitive difficulties, enabling them to interact with digital content that might otherwise be inaccessible.
So, how do screen readers work? They read the content on the screen and convert it into speech, providing an alternative way to consume information. Users typically control screen readers using a keyboard or, in the case of mobile devices, through touch-screen interactions. Each screen reader comes with a built-in set of commands that allow users to navigate and interact with web pages and other digital content efficiently.
In this article, we’ll walk you through practical steps and provide resources to help you make your website more accessible for screen reader users. Let’s get started on making the web a more accessible place for everyone!
Practical steps to write effective HTML for screen reader users
Use semantic HTML
Semantic HTML is all about using HTML elements that clearly convey the type of content they contain. Examples of semantic elements include <header>, <nav>, <main>, <article>, <button>, and <section>. These elements give both browsers and screen readers clear information about the structure and purpose of the content.
By using semantic HTML, you help screen readers understand the content on a webpage and effectively convey that information to users. This allows screen reader users to navigate your site more easily and understand the context and function of various elements.
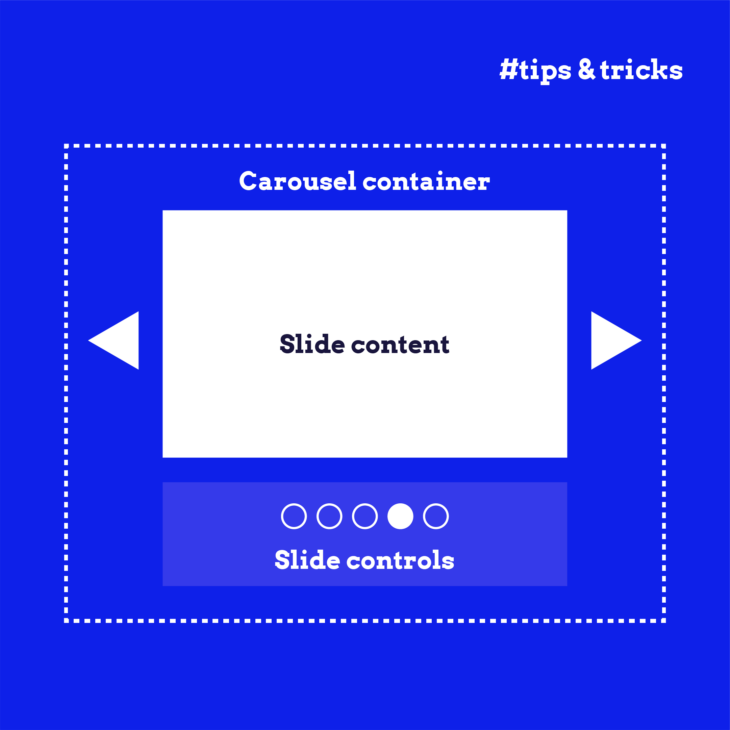
On the flip side, not using semantic HTML correctly can create significant drawbacks. For instance, using a <div> element instead of a <button> means that screen readers won’t recognise the element as a button. As a result, the element won’t be automatically focusable, keyboard-navigable, or clickable, which can severely hinder accessibility.
Here’s an example to illustrate the difference:
✔️ Correctly formatted button using semantic HTML:
<button type="button">Click Me</button>❌ Incorrectly implemented button using non-semantic HTML:
<div onclick="alert('Hello!')">Click Me</div>In the first example, the </button> element is inherently interactive, keyboard-navigable, and easily recognisable by screen readers. In the second example, the <div> element requires additional attributes and still may not provide the same level of accessibility.
Check out our guide on HTML accessibility for more details. Additionally, The A11Y Collective blog features specific guides on implementing accessible elements like mega menus, dropdown menus, and accordions to ensure your website is fully accessible to all users.
Implement a proper heading structure
Part of using semantic HTML correctly involves implementing a proper heading structure in your website content. Proper heading structure is important for both screen readers and sighted users, as it organises content hierarchically and makes it easier to navigate.
Here are some best practices for structuring headings in HTML:
Use headings hierarchically
Headings should be structured from <h1> to <h6>, with each level nested beneath the level above. For example, an <h3> would be nested under an <h2>, and so on. This creates a clear, logical flow for your content.
<h1>Main Title</h1>
<h2>Subsection Title</h2>
<h3>Sub-subsection Title</h3>
Only use one <h1> element
The <h1> element should be reserved for the main title of the page. This indicates the primary topic of the page to both users and search engines.
Don’t skip heading levels
Always move down by a single step when nesting headings. For example, nest an <h3> under an <h2>, not an <h4> under an <h2>. Skipping levels can confuse screen reader users and disrupt the content’s logical flow.
Use heading levels consistently
When elements appear across multiple pages of your site (like a navigation bar), ensure that you use the same heading levels for the same elements on every page. Consistency helps users understand and navigate your site more easily.
Don’t use headings for non-heading content
Heading elements should only be used to convey that specific text is a heading. They should not be used to add emphasis or visual interest. Instead, use CSS for styling and formatting.
Use relevant heading text
Headings should always be relevant to the text that follows them. This ensures they act as effective signposts for users navigating your content by headings.
For more detailed guidance on accessible headings, check our post on accessible headings.
Declare the language of your content
Declaring the language of your content using the lang attribute inside the <html> tag helps search engines, browsers, and screen readers understand the language of your content. This is especially important for screen readers, as it ensures the correct pronunciation and intonation.
Here’s an example of declaring the language:
<!DOCTYPE html>
<html lang="en">
<head>
    <meta charset="UTF-8">
    <title>Accessible Web Page</title>
</head>
<body>
    <!-- Content goes here -->
</body>
</html>
In cases where your content includes snippets of text in a different language, use the lang attribute to indicate this. This helps screen readers switch to the appropriate language mode.
Here’s an example of including a different language snippet:
<p lang="fr">Bonjour, comment ça va?</p>Use ARIA roles and attributes
ARIA, which stands for Accessible Rich Internet Applications, is essential when it comes to web accessibility. ARIA roles and attributes provide additional context and information to assistive technologies like screen readers, helping them interpret complex web components.
Key ARIA roles and attributes:
- aria-label: The
aria-labelattribute provides an accessible name for an element. It is especially useful for interactive elements like buttons or form controls that might not have visible text.
<button aria-label="Close">X</button>- aria-labelledby: The
aria-labelledbyattribute links an element to another element that provides a descriptive label. This is useful for creating accessible form controls or complex widgets.
<h2 id="modal-title">Modal Title</h2>
<div role="dialog" aria-labelledby="modal-title">
    <!-- Modal content -->
</div>- aria-describedby: The
aria-describedbyattribute links an element to another element that provides additional descriptive information. This can be used to add extra context for form controls or interactive elements.
<input type="text" aria-describedby="input-help">
<div id="input-help">Enter your full name here.</div>- aria-expanded: The
aria-expandedattribute indicates whether a collapsible element, such as a menu or accordion, is currently expanded or collapsed.
<button aria-expanded="false">Toggle Menu</button>
<div hidden>Menu Content</div>
ARIA landmark roles
Landmark roles like role="main", role="navigation", etc., help define the structure of a webpage, making it easier for screen reader users to navigate.
<body>
  <header role="banner">
    <!-- site-wide header content -->
  </header>
  <nav role="navigation">
    <!-- navigation menu -->
  </nav>
  <main role="main">
    <!-- main content -->
  </main>
  <aside role="complementary">
    <!-- supplementary content like sidebars -->
  </aside>
  <footer role="contentinfo">
    <!-- site-wide footer content -->
  </footer>
</body>
Note: Avoid using multiple landmarks of the same type unnecessarily. For instance, only one <main> or role="main" should be used per page. You can learn way more in our guide on ARIA landmark roles.
Additionally, keep W3C’s five rules of using ARIA in mind:
- Don’t use ARIA if you can use a native HTML element or attribute.
- Do not change native semantics unless you really have to.
- All interactive ARIA controls must be usable with the keyboard.
- Don’t use
role="presentation"oraria-hidden="true"on a focusable element. - Ensure all ARIA live regions are announced in a way that’s usable.
The most important rule is to avoid using ARIA where native HTML elements can convey the same information. This ensures better compatibility and simpler code.
Learn more about effective ARIA implementation in our “ARIA Explained” course.
Write effective alt text
Alternative text, or alt text, is essential for helping screen reader users understand the content of images and other non-text elements. Here’s an example of effective alt text implementation for the image below:

<img src="puppy.jpg" alt="A dog playing with a red ball">Keep these best practices in mind for writing effective alt text:
- Be specific but concise: Describe the image clearly but keep it concise.
- Use correct punctuation: Punctuation helps screen readers pause correctly, improving readability.
- Avoid redundant text: Skip phrases like “image of” or “picture of”; screen readers already announce images.
- Convey functionality for buttons/icons: For interactive elements, describe their functionality.
<button aria-label="Submit Form"></button>- No alt text for decorative elements: Use empty alt attributes for purely decorative images.
<img src="decorative-line.png" alt="">In some cases, alt text isn’t the best means of conveying complex information. If a more detailed description is needed, provide it as text elsewhere on the page and reference it using the aria-describedby attribute.
Use clear language
Using clear, easy-to-understand language is necessary for making your content accessible to all users, including those with cognitive or other disabilities. Clear language enhances comprehension and usability, ensuring that your message is effectively communicated to a broader audience.
Beyond avoiding complex language, jargon, or slang terms, it’s important to steer clear of language and characters that might not be read out clearly by screen readers. Here are some guidelines:
- Dashes: Instead of writing “3–5”, write “three to five”.
- Abbreviations: Instead of writing “Oct”, write “October”.
- Acronyms: Expand acronyms the first time you use them, then use the <abbr> tag to describe them.
For example:
<p>We have events planned from October to December.</p>
<p>The World Health Organization (WHO) is working on the project. <abbr title="World Health Organization">WHO</abbr></p>
Write good link text
Just as with using clear language and effective alt text, writing good link text is essential for providing a better user experience, particularly for screen reader users. Clear link text helps all users understand what will happen when they interact with a link, making site navigation smoother and more intuitive.
Keep the following considerations in mind when writing effective, accessible link text:
- Use unambiguous anchor text: Link text should clearly describe the destination or action. Instead of “click here,” use descriptive text like “read our accessibility guide.”
<a href="accessibility-guide.html">Read our accessibility guide</a>- Optimise link alt text: Ensure that any alt text for images used as links also conveys the purpose of the link.
<a href="home.html"><img src="home-icon.png" alt="Home Page"></a>- Avoid redundant link text: Refrain from using the same link text for different URLs, as this can confuse screen reader users.
- Consolidate adjacent links: Combine links that are next to each other and lead to the same destination.
<a href="contact.html">Contact us</a> for more information.- Provide extra context for special links: If a link opens in a new tab or starts a download, inform the user. When creating a download link, include the size and file type in the link.
<a href="report.pdf" download>Download the report (115 kB, PDF)</a>Action plan: Implementing and testing HTML for accessibility
Creating content that is fully accessible for screen reader users is a crucial step towards inclusivity on the web. Accessible HTML ensures that everyone can use your website, regardless of their abilities.
However, writing and implementing accessible HTML is only part of the process. It’s equally important to thoroughly test your implementation to ensure that all content is accessible to screen reader users. We recommend using a combination of automated tools and manual testing for this purpose. Automated tools can quickly identify potential issues, while manual testing with screen readers provides a more nuanced understanding of the user experience.
While this guide has provided a useful breakdown of key areas to consider when implementing screen-reader-accessible HTML, it is just the starting point. There is always more to learn and improve upon. To continue your journey towards mastering web accessibility, we recommend exploring The A11Y Collective’s suite of accessibility courses:
- Accessible code: For a more comprehensive overview of accessible HTML implementation.
- ARIA explained: For advanced ARIA implementation.
- Advanced accessible components: For advanced HTML implementation.
Enrolling in these courses can deepen your understanding and ensure that your website is as accessible as possible. These steps will improve your site’s usability and contribute to a more inclusive internet for all users.
Together, we can create a web that is truly accessible to everyone!